
Diving into the Scrypted terminal
Scrypted is an awesome high performance and pluggable home video and automation platform. If you’ve never used it before, go check it out! Its media pipeline is optimized for low-latency camera streaming, and its flexible plugin system allows for integrations for countless external services.
In this blog, I’ll go over one of Scrypted’s underrated features: the terminal.
What is the Scrypted terminal?
The Scrypted terminal provides a shell environment to the Scrypted server, accessible through the browser via the Scrypted management UI. Access is only granted to authenticated admin users; non-admins do not have access. On the left side of the management UI screen, we can see the “Terminal” tab.
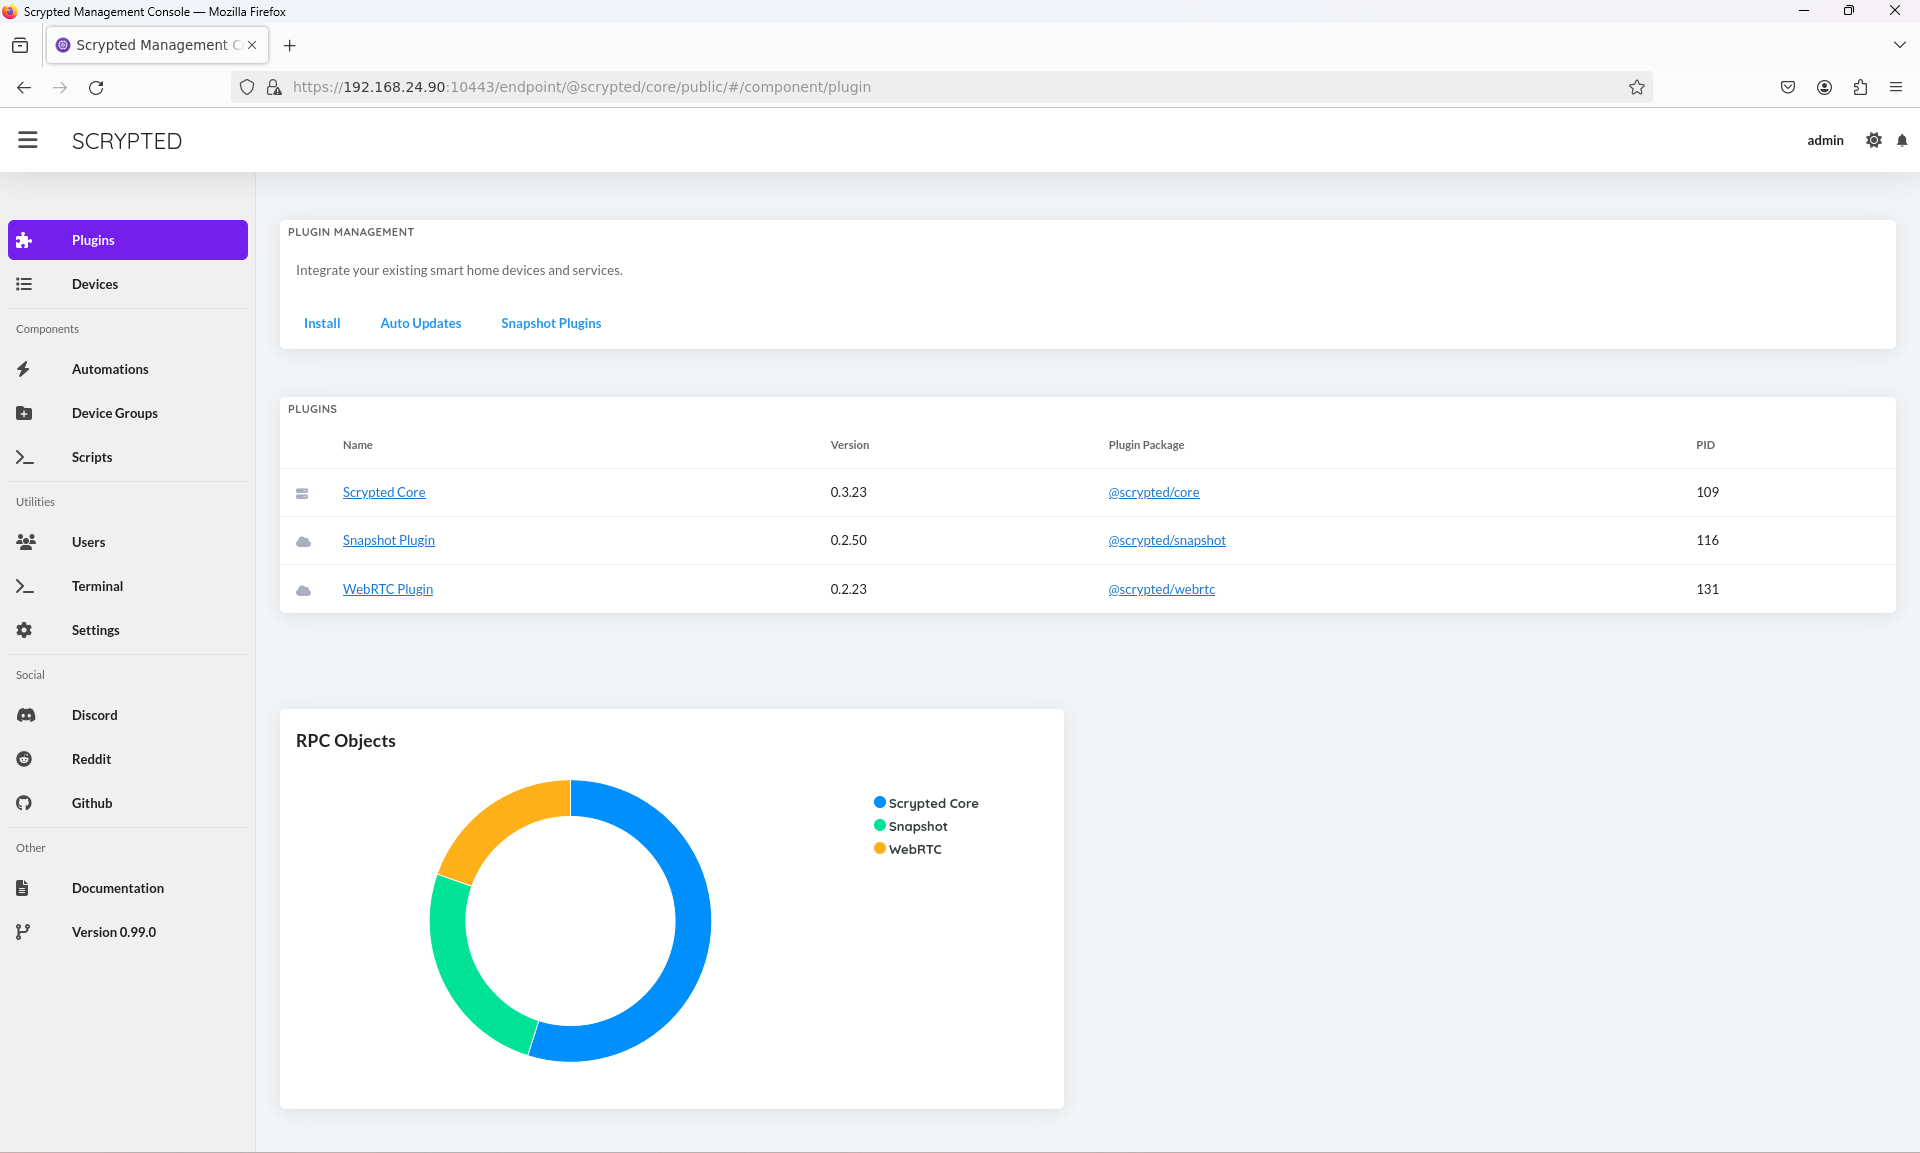
Scrypted dashboard
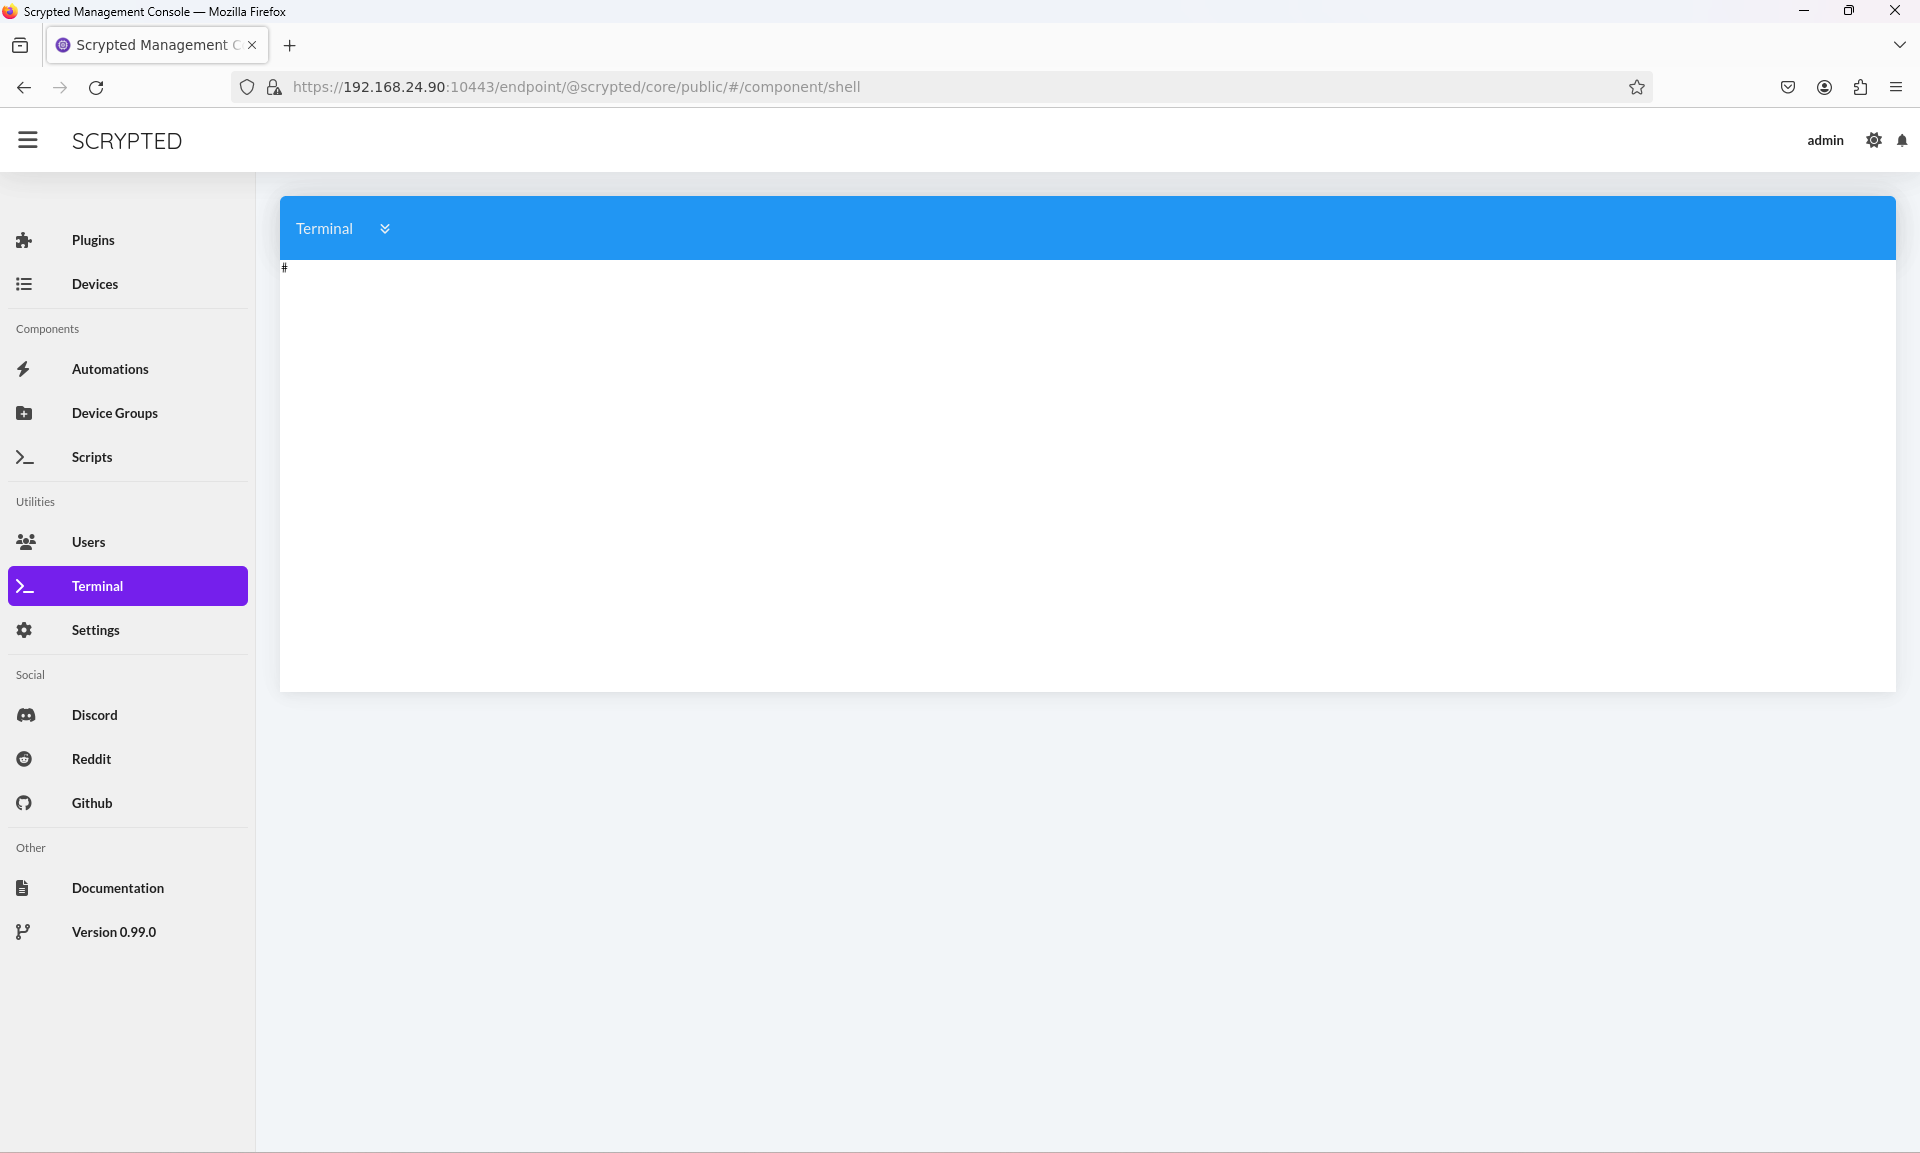
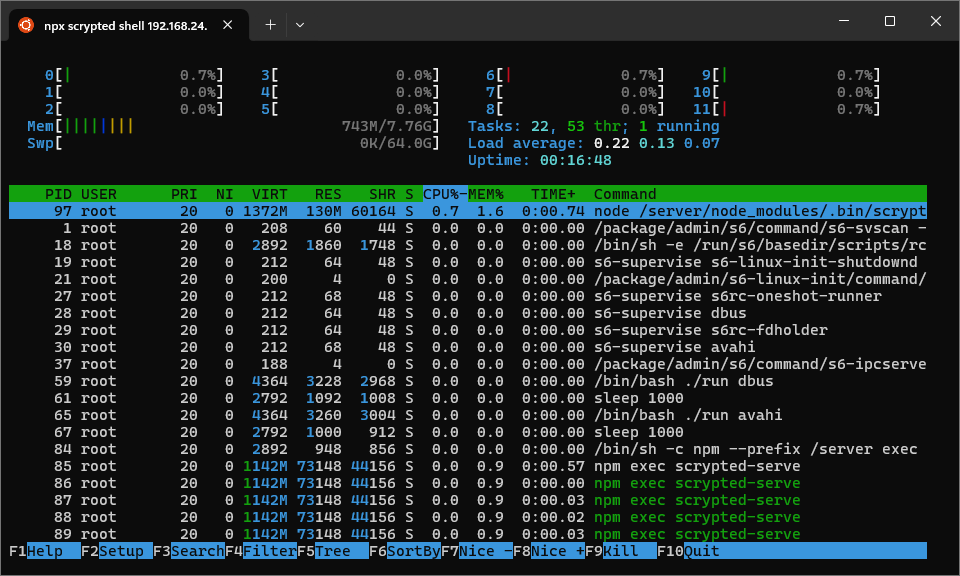
Terminal screen
Here, we are presented with a window hosting a terminal shell. The shell program used is dependent
on the SHELL environment variable of the Scrypted server process. This shell instance is launched as
a subprocess of the @scrypted/core plugin (see architecture), so it inherits Scrypted’s user and
group. Additonally, if Scrypted is installed as a container (e.g. Docker, LXC), the terminal gives
a handy way of landing a window into the container itself.
The terminal window is rendered on the web with xterm.js and connects to an instance of node-pty on the
server side, providing a functional terminal experience. For instance, full-screen terminal applications
like htop work, including mouse functionality.
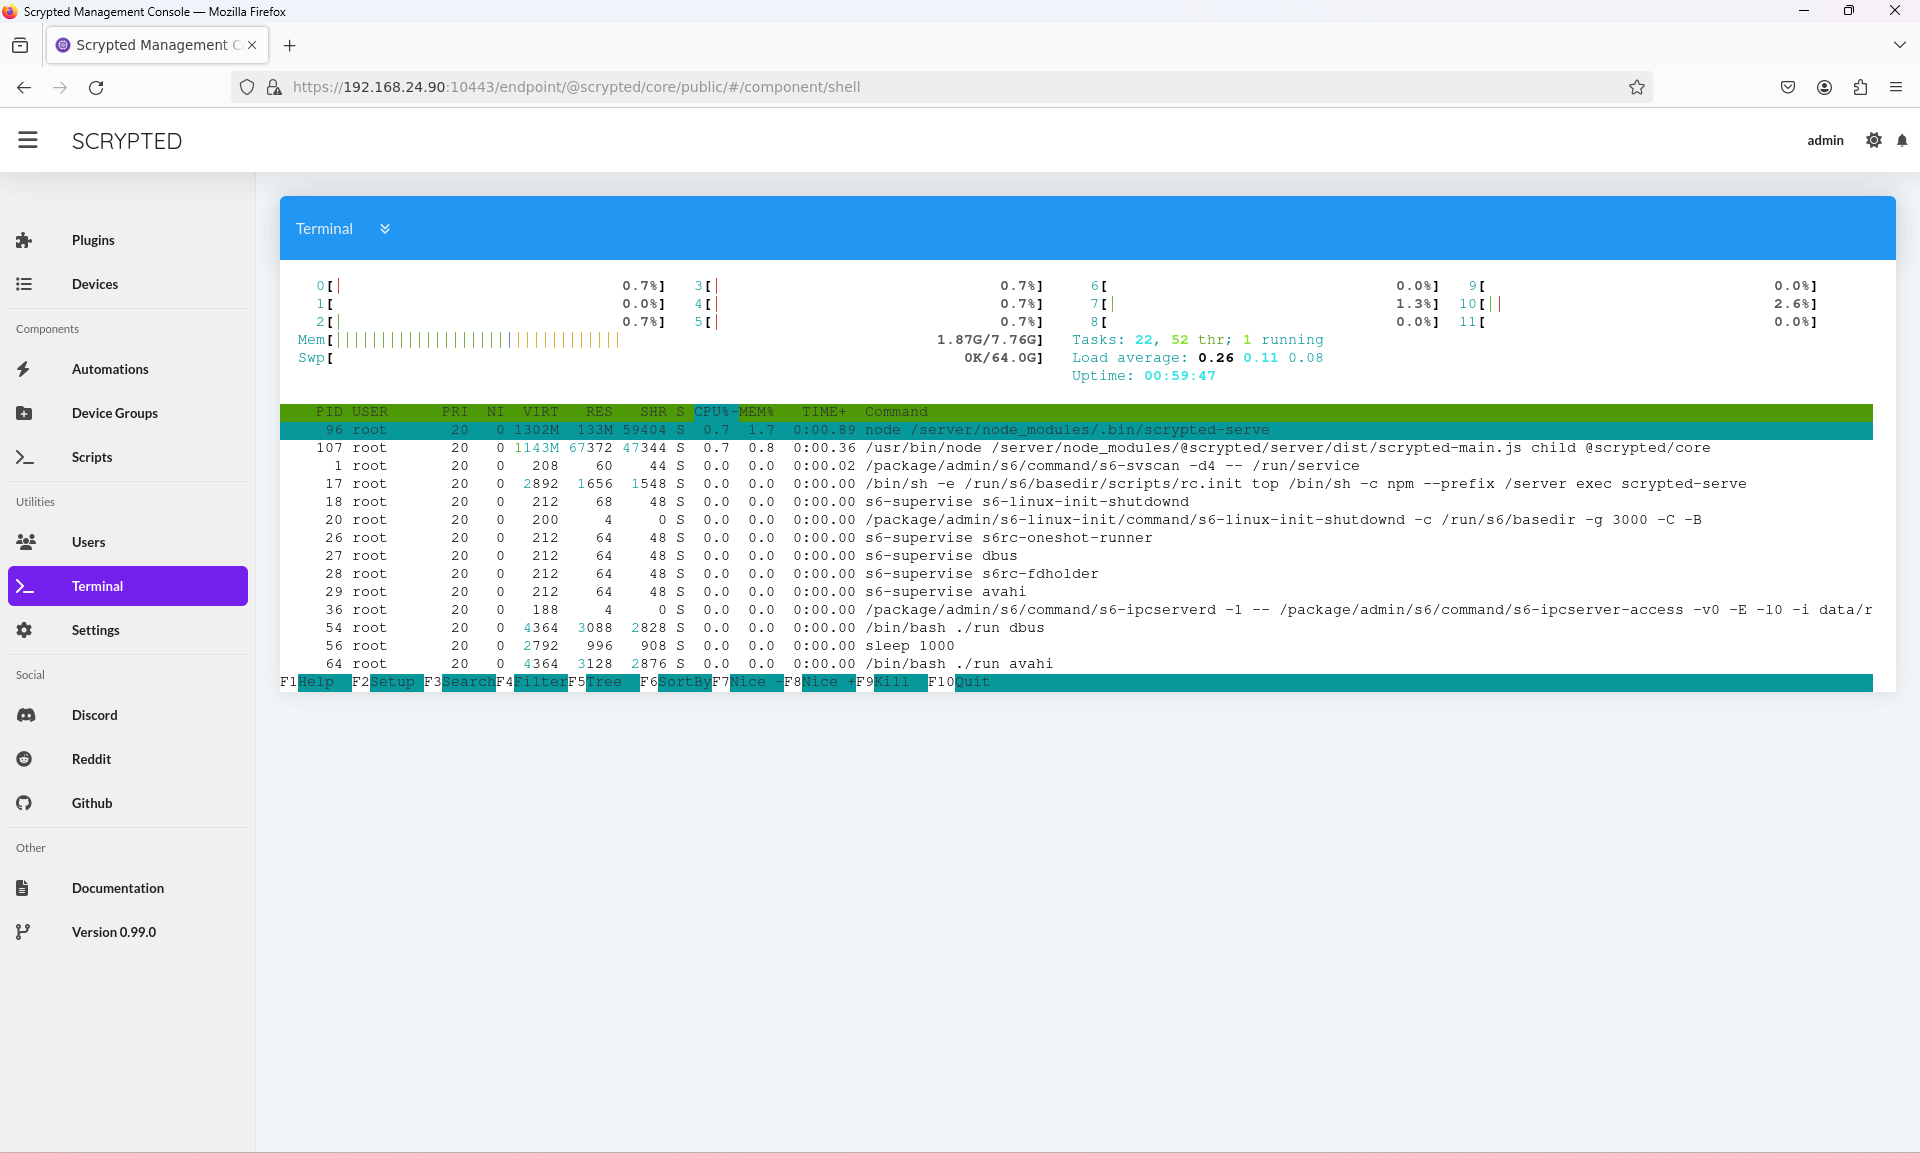
htop in the Scrypted terminal
Accessing the terminal via the Scrypted CLI
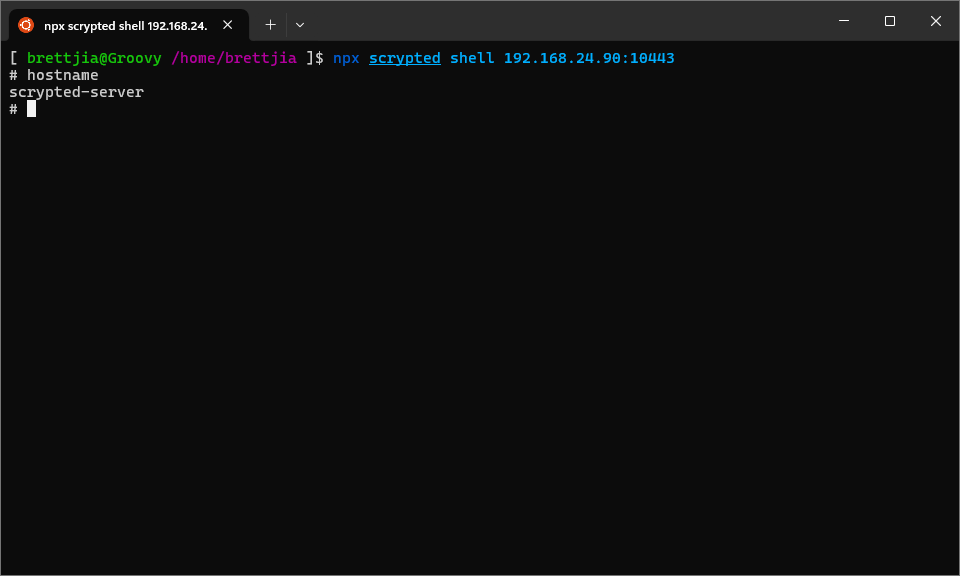
Scrypted CLI version 1.3.3 introduced the shell subcommand to enable the CLI to connect to a
Scrypted server’s terminal. Instead of using xterm.js, the CLI will connect the local terminal to
the remote node-pty, giving the same look-and-feel as if you’ve logged into the remote server over
something like SSH.

Scrypted CLI subcommands
Connecting to the terminal
NOTE: When using the npx scrypted shell command, ensure you have logged into the Scrypted server beforehand
with npx scrypted login. Normally, the CLI will prompt for server credentials if not previously logged in;
however, this has the side effect of breaking the terminal’s stdin and stdout, causing the CLI shell to
get stuck. If you find this happens, force kill the CLI node process.
Like in the web, the shell subcommand gives a fully-functional terminal experience,
with full-screen applications and mouse events handled properly.
htop in the Scrypted CLI
The shell command contains more capabilities than the web terminal, in that it can be used to specify the command
to launch on the server. Place the command you want to run after a -- separator.
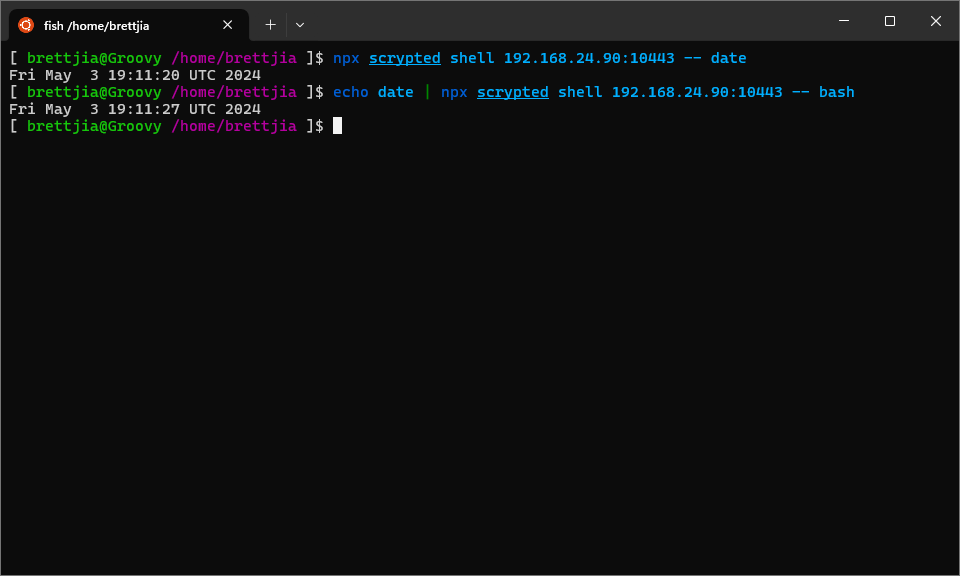
Two ways to run a remote command
Additionally, shell can be used in both interactive and non-interactive modes.
Normally, shell is started in interactive mode. However, if the CLI detects that its stdin is not a
terminal, it will fall back to non-interactive mode. For example, if stdin is a pipe from another process,
shell will be started in non-interactive mode.
Functionally, the difference in interactive and non-interactive mode is whether or not node-pty is started on the server side. In interactive mode, node-pty is started to handle terminal control sequences, such as mouse events. In non-interactive mode, node-pty is not used, and a plain subprocess takes in data from the CLI’s stdin as its own stdin.
Combining the ability to launch a remote command and pipe data into shell grants us a way to do some
interesting things…
Using Scrypted as a TCP tunnel
socat is a powerful utility with flexible socket manipulation capabilities. One of its uses is to act
as a TCP server, exec a subcommand, and pipe data received by the server to the subcommand’s stdin.
We can use this feature to tell socat to listen on a local port, then spawn a Scrypted CLI shell
in non-interactive mode to connect to a remote server.
When the Scrypted CLI shell connection is used non-interactively, data sent across the shell connection is written directly to the remote process’s stdin. There is no requirement that this data consists of printable characters - any binary data will do.
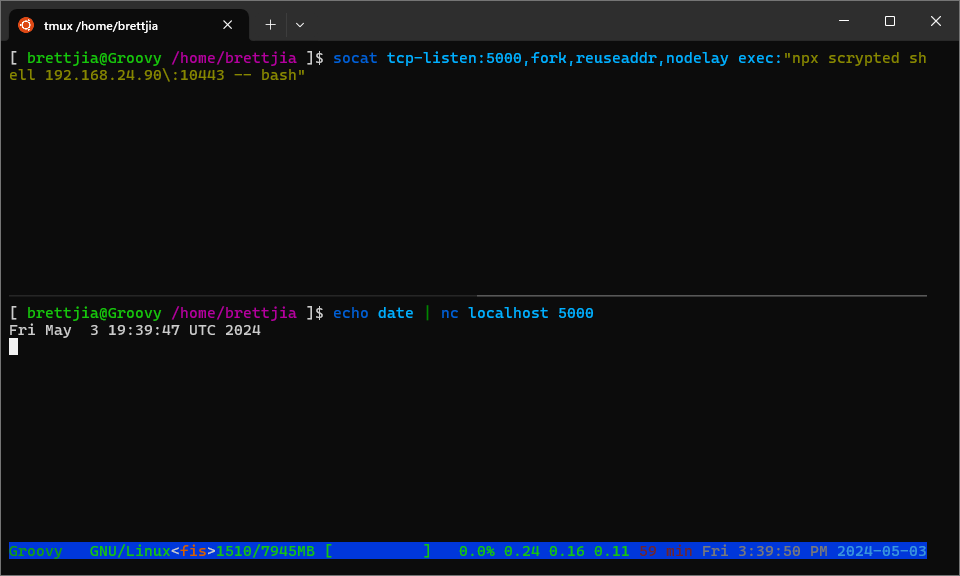
Using socat to run a remote command
We can use another instance of socat on the remote side to forward data sent over the Scrypted shell
connection to a host and port accessible from the Scrypted server. For example, the Scrypted server might
be hosted on your private network, with external HTTPS access available via a Cloudflare Tunnel. A Scrypted
CLI command outside the private network can authenticate as normal over HTTPS, then provide shell access
to the Scrypted server. With non-interactive socat running as the shell’s remote command, this allows
an authenticated CLI to tunnel into the private network and connect to any private network host and port.
WARNING: Using the Scrypted CLI shell to connect to the server via a Cloudflare Tunnel means all data is decrypted when traveling through Cloudflare’s servers. For any sensitive information, it is recommended to ensure encryption on either side of the Scrypted TCP tunnel, such as with SSH (see below). Additionally, Cloudflare may impose restrictions or cut access if too much data is transferred across their connection, so be mindful of usage and try to avoid copying large files across the tunnel.
A simple script to grant this access can look like:
#!/bin/bash

# Replace this with your public IP or Cloudflare Tunnel address
SERVER=192.168.24.90
# Replace this with your public port
SERVER_PORT=10443

# First argument is the port forwarded from localhost
LOCAL_PORT=$1
# Second argument is the host to forward to, relative to the Scrypted server
HOST=$2
# Third argument is the port of the host to forward to
PORT=$3

# This assumes that socat is available on the Scrypted server and in your PATH
socat tcp-listen:$LOCAL_PORT,fork,reuseaddr,nodelay \
    exec:"npx scrypted shell $SERVER\:$SERVER_PORT -- socat - tcp\:$HOST\:$PORT"
Save this to /usr/local/bin/scrypted-tunnel and make the script executable.
To use, run it from the command line. For example, to make a TCP tunnel for SSH:
$ scrypted-tunnel 12345 localhost 22This will forward the local port 12345 to port 22 of localhost of the Scrypted server.
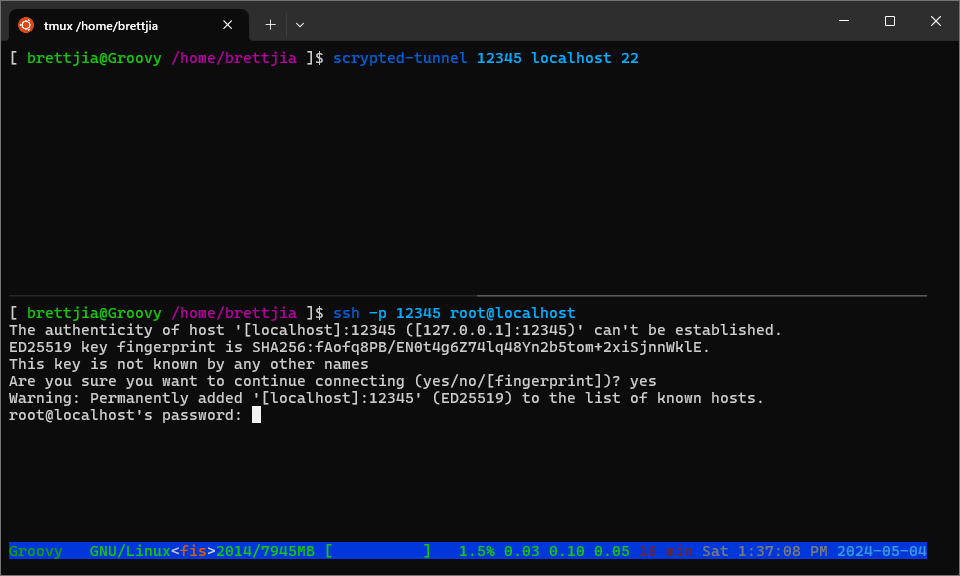
Using SSH over the TCP tunnel
Architecture of the Scrypted terminal
The backend of the Scrypted terminal resides in the @scrypted/core plugin’s “Terminal Service” device.
This device is responsible for handling terminal connections, managing node-pty, and spawning the
appropriate subprocesses requested by terminal clients.
The Terminal Service device implements the StreamService interface:
/**
 * Generic bidirectional stream connection.
 */
export interface StreamService {
    connectStream(input: AsyncGenerator<any, void>): Promise<AsyncGenerator<any, void>>;
}
As the documentation suggests, StreamService is a generic representation of a bidirectional connection, where both sides can stream data at any time. A StreamService object lives on the server side, and clients can request to connect by calling connectStream. As such, when a client wants to form a stream connection with a server, the client first gets a remote reference to the server’s StreamService via the Scrypted RPC framework, then creates a local AsyncGenerator, then sends the AsyncGenerator across the Scrypted RPC framework to the server with connectStream. Finally, the server sends back its own AsyncGenerator as a response, and the two sides can communicate with the pair of AsyncGenerators: the client sends information by queuing on its local AsyncGenerator, and receives information by awaiting the server’s AsyncGenerator.
This design of representing streams as AsyncGenerators makes the connection consumer-centric, since data is only sent over the connection if the consumer is ready to receive it. Queued data can sit on the producer side of the connection and be batched when the consumer is ready for it.
However, in the case of terminal access, programs can still produce data faster than the receiving end can process it. For example, xterm.js can be overwhelmed by large amounts of data, and recommends adding flow control. In Scrypted’s terminal, flow control is added on both sides of the connection by queuing up to 64 kB of data before pausing reads from the producer. This is implemented in Terminal Service, in the CLI, and even the management UI.
NOTE: StreamService and flow control isn’t just for the Scrypted terminal - it’s also the underlying architecture for the device console and REPL in the management UI.
An aspect of terminal clients that isn’t sent as binary data across the connection is the terminal
resize event. If you use the Scrypted CLI’s shell subcommand and run a full-screen application (such as htop),
you can see that the program adapts to the available screen size - and is responsive when the terminal client
is resized. To implement this, Scrypted’s Terminal Service distinguishes between two different types of input:
control messages and generic terminal data.
Control messages are JSON-formatted strings containing metadata about the stream itself. As of this writing, there are three kinds of control messages:
- Stream start
- Resize
- EOF
The “stream start” control message dictates how the Terminal Service should initialize the terminal, and is typically the first message sent by the client across the stream connection. This message specifies if the terminal should be started in interactive or non-interactive mode, as well as the command (and arguments) to run.
The “resize” control message contains the new dimensions (in rows and columns) of the client terminal. One instance of this message is sent at the start of the stream to set the initial dimensions, and additional messages are sent when the client terminal resizes.
NOTE: Resize events are available in xterm.js as well, but as of this writing, handling resizing is unimplemented in the management UI.
The “EOF” control message is sent when the client wants to send EOF to the remote process.
Conclusion
The Scrypted terminal is a neat feature of the platform as a whole, and gives a flexible way to access the Scrypted server environment. Its interactive and non-interactive modes allow for unique ways to use the connection. I hope this post has been helpful in peeling back the curtains on how this feature works under the hood.